How to use Pinterest for business: Pinterest is a very rapidly growing social network site. Pinterest has 150 million monthly active users and 70 million users are from the USA. The average Pinterest user spends more than 14 minutes pinning every time they log in and the total number of Pinterest pins is 50 billion + and the total number of Pinterest boards is more than 1 billion. With these eye-opening numbers, the use of Pinterest is a real treat for your business. Using Pinterest for your business is the ideal approach to get your product or service discovered by a great many people searching for things to arrange, purchase, and do. Here is what I am writing about how to use Pinterest for business.
Table of Contents
How to Use Pinterest for Business
To use Pinterest for business, firstly you have to create a business account.If you are using your personal Pinterest for business then you are missing some extra Pinterest features which are accessible only for the Pinterest business account. But don’t mind you can easily convert your personal Pinterest account to a business account.
1.Set Up Your Business Account
You have 2 options here, you have to create the brand new Pinterest account or you have to convert your personal Pinterest account to a business account.
1. Create a Brand New Business Account (in Addition to Your Profile)
- If you already have a personal Pinterest profile & you’re logged in, log out now
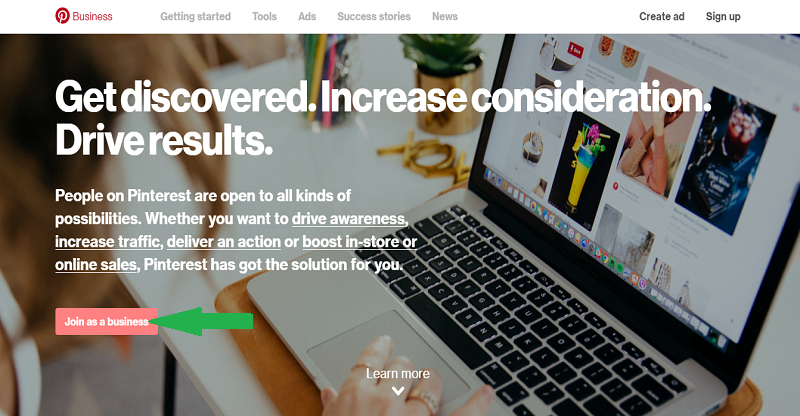
- Go to Pinterest for Business & choose “Join as a Business”

- Complete the details about your business & the manager of the account.
- Read & accept if you agree to the Pinterest Business Terms of Service & click “Create Account”
2. Convert Your Profile to a Business Account
- Log in to your current Pinterest account
- Go to Pinterest for Business
- Click “Convert now”
- Complete the information & click “Convert”
Don’t worry you don’t lose anything. All your followers, pins & boards will change over to your new account. Everything will appear to be identical, aside from a couple of extra features.
2.Complete Your Profile on Your Biz Account
- Upload your most current headshot or logo
- Choose your username (this might autofill when you set up the account) — this is your chance to brand your URL the way you’d like to see it!
- Add your bio — including keywords that are optimized for search
- Add details that’ll connect people to you: what do you love & what will you be pinning?
- Add your location
- Add your website (see next steps for verifying your website)
Remember, Pinterest is a visual network — so think visual!!
Give individuals the chance to see and comprehend your passions and interests – so it’s simple to follow and connect with you.
3.Verify Your Business Website
Without verification, you won’t have access to Pinterest analytics.
Here’s how to get it done:
- Go to the main page of your account & choose “Edit Profile”
- Scroll to the bottom, add your website address & click “Verify”
- You’ll see a pop-up with verification instructions — select “download the HTML verification file”
- Upload the file into the root directory of your website via FTP or CPanel then return to your Pinterest profile & click the button that says “click here to complete the process”
- You should receive a message that says your verification was successful & you’re good to go!
At this point, I recommend that you request access to Rich Pins.
Also Read: 21 Best Social Media Management Tools
4.Set Up Pinterest Rich Pins
Before you can get started with Rich Pins, you need to request access & add specific markup code to your website or blog.
This step might be one you need a web developer for since it’s a bit technical.
You have 2 different options when adding the necessary code:
But if you use an SEO plugin like Yoast, the oEmbed data might already be there (like the article title, description & author).
If this is the case, then move on to the next steps.
Verify Your Rich Pins
First, you need to determine which type of Pin you want to be approved. Once you do that, follow these steps:
- Go to the Rich Pin Validation Page
- Copy the URL of your content & paste it into the Rich Pin Validator
- Click “Validate”
Once you receive the message that your pin was validated, click “Apply Now”.Pinterest will then notify you of approval. This could take 2-3 weeks — so be prepared to check back.
Rich pins are the feature I utilize and cherish most about Pinterest’s business accounts. They’re extra information, intelligent buttons on Pins that let individuals do different things or illuminate them about something. Like on the off chance that you have an App, you can specifically give individuals a chance to download it by utilizing an App Pin on it with a “download” button.
There are 6 types of Rich pins supported at the moment:-
- App
- Movie
- Recipe
- Articles
- Product
- Place
They all have distinctive capacities and uses, however, they all let you add something to the pin, henceforth they have got a distraught sort of conversion and engagement.
These are the technical tips that are necessary for using Pinterest for business. Their many other tips and factors which are also useful in using Pinterest for business which I will update later stay tune!
Reference: